


 — Whiteboard Friday")


A Step-by-Step Guide to Install Gemma-3 Locally with Ollama or Transformers

Gemma-3 is Google’s latest open-weight large language model (LLM), pushing the boundaries of AI with multimodal capabilities, extended context length, and multilingual support. Unlike its predecessors, Gemma-3 can process both text and images, making it far more versatile for tasks like question answering, document summarization, and image analysis. With a massive 128K context window (for 4B+ models) and support for over 140 languages, it opens up new possibilities for advanced reasoning and content generation. Plus, it comes in multiple sizes, from 1B to 27B parameters, allowing you to choose the right balance between performance and efficiency. And the best part? It is available on both Ollama and Transformers, making it much easier for anyone to get started in no time, right in their machine locally or through cloud.
In this guide, we’ll show you step-by-step process to install and run Gemma 3 locally using Ollama and Hugging Face Transformers. (Bonus: We’ve asked it to build an AI based crypto trading agent. Want to see the results? Dive in!)
Gemma-3 Benchmarks
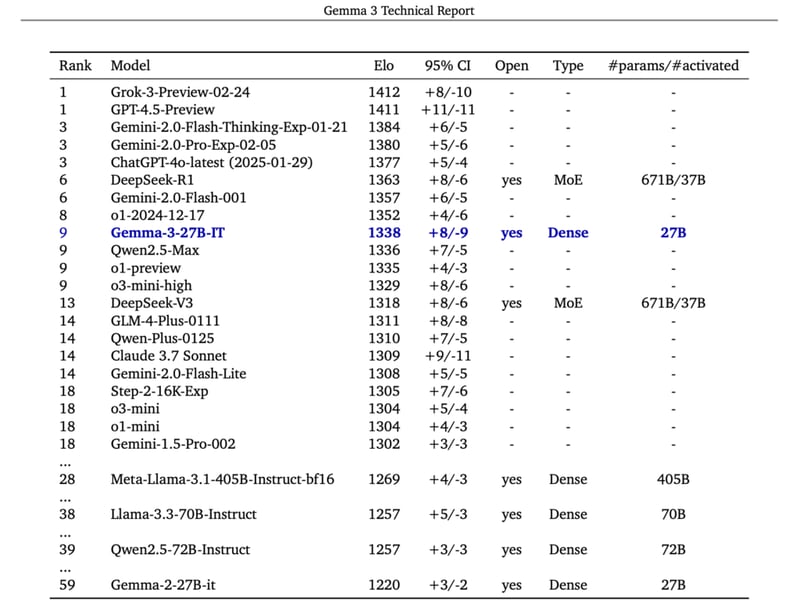
Performance Across Metrics

Prerequisites
-
The minimum system requirements for running a Gemma-3 model:
-
Disk Space: 100 GB (may vary across models)
-
Jupyter Notebook or Nvidia Cuda installed.
-
GPU Configuration requirements depending on the number of parameters are as follows:

We’ll recommend you to take a screenshot of this chart and save it somewhere, so that you can quickly look up to the GPU prerequisites before trying a model.
Step-by-step process to install Gemma-3 locally or on Cloud
For the purpose of this tutorial, we’ll use a GPU-powered Virtual Machine by NodeShift since it provides high compute Virtual Machines at a very affordable cost on a scale that meets GDPR, SOC2, and ISO27001 requirements. Also, it offers an intuitive and user-friendly interface, making it easier for beginners to get started with Cloud deployments. However, feel free to use any cloud provider of your choice and follow the same steps for the rest of the tutorial.
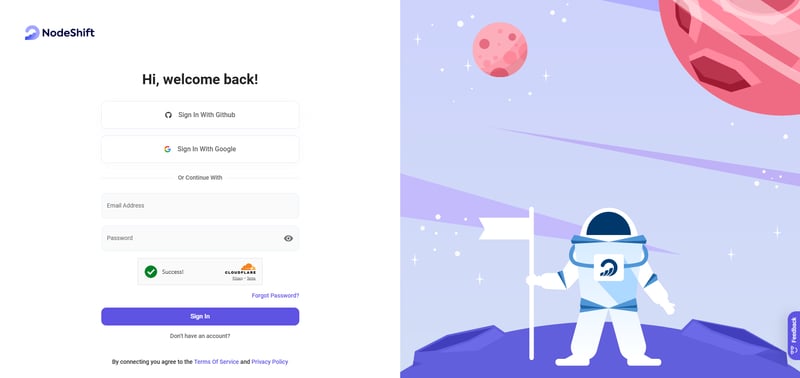
Step 1: Setting up a NodeShift Account
Visit app.nodeshift.com and create an account by filling in basic details, or continue signing up with your Google/GitHub account.
If you already have an account, login straight to your dashboard.
Step 2: Create a GPU Node
After accessing your account, you should see a dashboard (see image), now:
1) Navigate to the menu on the left side.
2) Click on the GPU Nodes option.

3) Click on Start to start creating your very first GPU node.
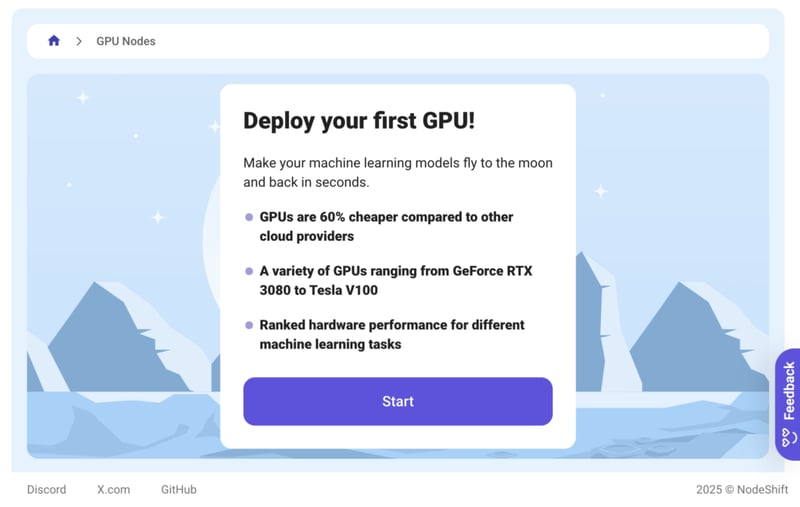
These GPU nodes are GPU-powered virtual machines by NodeShift. These nodes are highly customizable and let you control different environmental configurations for GPUs ranging from H100s to A100s, CPUs, RAM, and storage, according to your needs.
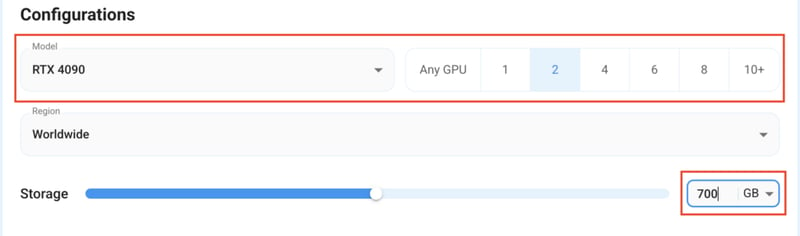
Step 3: Selecting configuration for GPU (model, region, storage)
1) For this tutorial, we’ll be using RTX 4090 GPU, however, you can choose any GPU of your choice as per the “Prerequisites”.
2) Similarly, we’ll opt for 700GB storage by sliding the bar. You can also select the region where you want your GPU to reside from the available ones.
Step 4: Choose GPU Configuration and Authentication method
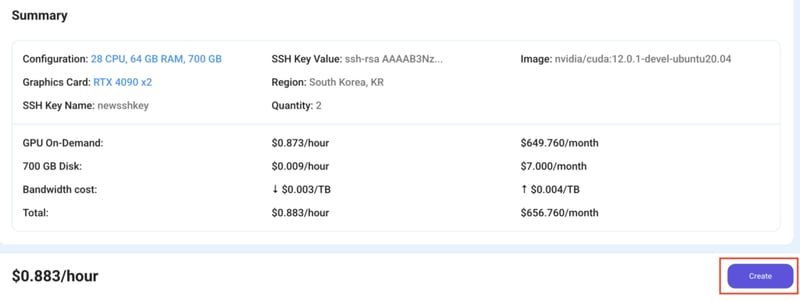
1) After selecting your required configuration options, you’ll see the available VMs in your region and according to (or very close to) your configuration. In our case, we’ll choose a 2x RTX 4090 GPU node with 64 vCPUs/129GB RAM/700 GB SSD.

2) Next, you’ll need to select an authentication method. Two methods are available: Password and SSH Key. We recommend using SSH keys, as they are a more secure option. To create one, head over to our official documentation.

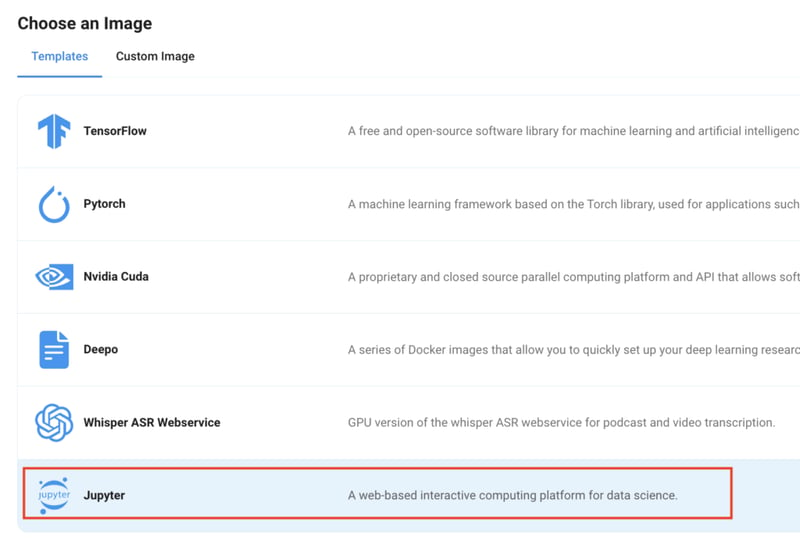
Step 5: Choose an Image
The final step would be to choose an image for the VM, which in our case is Nvidia Cuda, where we’ll deploy and run the inference of our model through Ollama. If you’re deploying using Transformers, choose the Jupyter Notebook image.

That’s it! You are now ready to deploy the node. Finalize the configuration summary, and if it looks good, click Create to deploy the node.

Step 6: Connect to active Compute Node using SSH
1) As soon as you create the node, it will be deployed in a few seconds or a minute. Once deployed, you will see a status Running in green, meaning that our Compute node is ready to use!
2) Once your GPU shows this status, navigate to the three dots on the right, click on Connect with SSH, and copy the SSH details that appear.

As you copy the details, follow the below steps to connect to the running GPU VM via SSH:
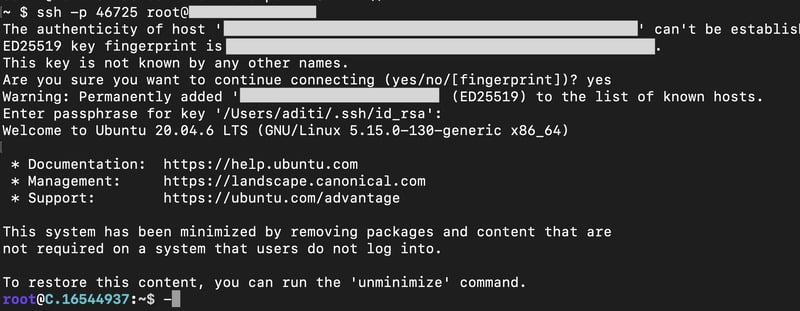
1) Open your terminal, paste the SSH command, and run it.
2) In some cases, your terminal may take your consent before connecting. Enter ‘yes’.
3) A prompt will request a password. Type the SSH password, and you should be connected.
Output:
Installation using Ollama
Ollama is a user-friendly option for quickly running Gemma-3 locally with minimal configuration. It’s best suited for individuals or small-scale projects that don’t require extensive optimization or scaling.
Before starting the installation steps, feel free to check your GPU configuration details by using the following command:
nvidia-smi
The first method of installation will be through Ollama. For installing Gemma-3 with Ollama, follow the steps given below:
1) Update the ubuntu-package soruce list to the latest versions.
apt update
Output:

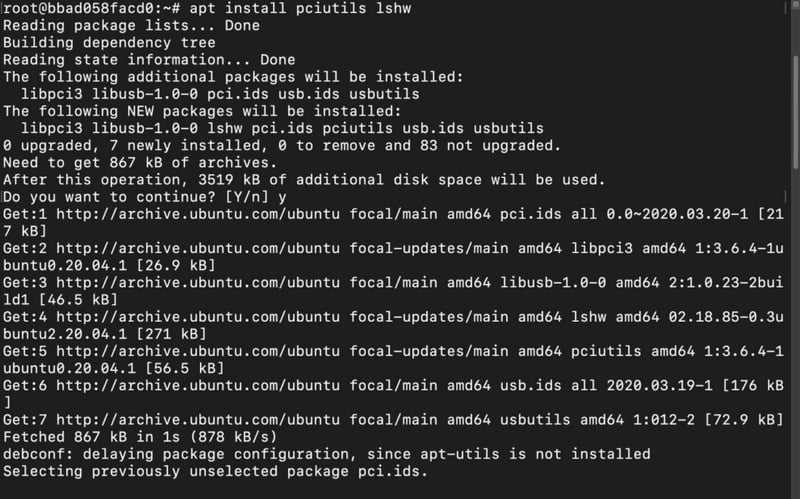
2) Install Ollama dependencies to utilize GPU.
apt install pciutils lshw
Output:
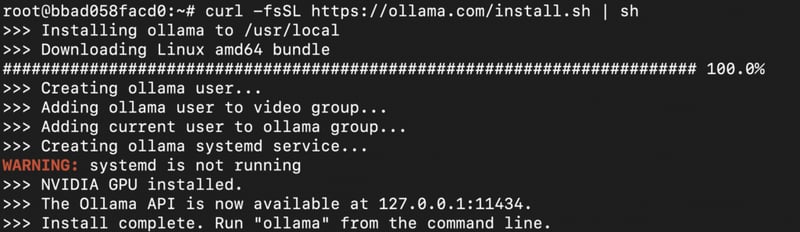
3) Install Ollama.
curl -fsSL https://ollama.com/install.sh | sh
Output:
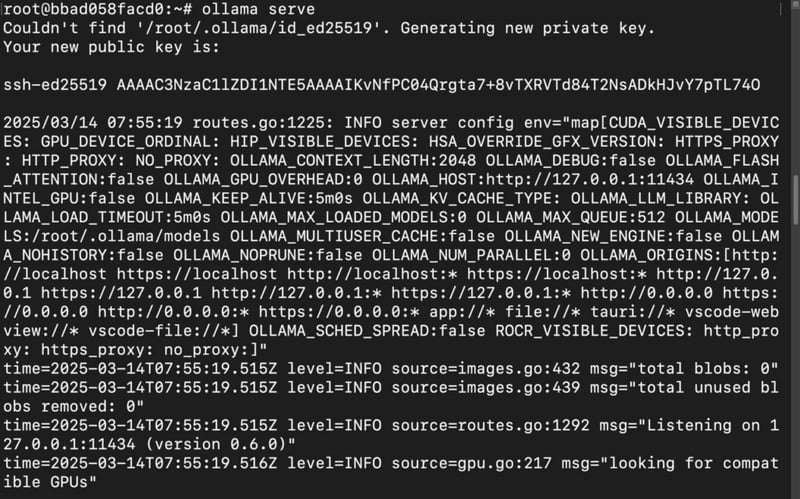
4) Start Ollama.
Once the installation is done, we’ll start the Ollama server in the current terminal and do the rest of the operations in a new terminal.
ollama serve
Output:
Now that our Ollama server has been started, let’s install the model.
5) Open a new terminal window and run the ollama command to check if everything is up and running and to see a list of Ollama commands.
Output:

6) Download the Gemma-3 model with the following command.
Here are the commands for different versions of Gemma-3 available for installation through Ollama.
Gemma-3-1B:
ollama run gemma3:1b
Gemma-3-4B:
ollama run gemma3:4b
Gemma-3-12B:
ollama run gemma3:12b
Gemma-3-27B:
ollama run gemma3:27b
We’ll install 27B parameter version for this tutorial.
Output:

The model will take some time to finish downloading; once it’s done, we can move forward with model inference.
7) Give prompts for model inference.
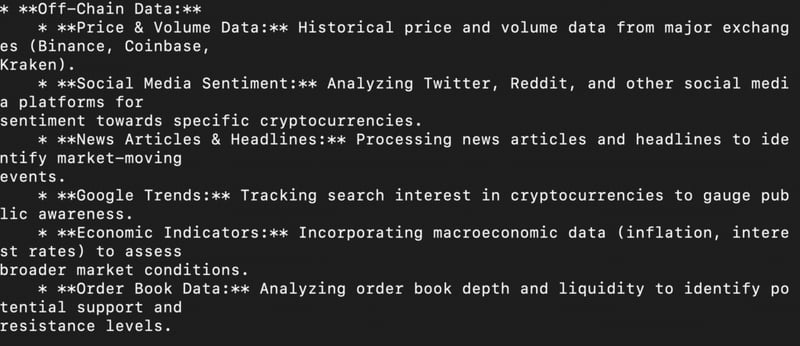
Once the download is complete, ollama will automatically open a console for you to type and send a prompt to the model. This is where you can chat with the model. For e.g., it generated the following response (shown in the images) for the prompt given below:
You are an AI-powered trading analyst specializing in cryptocurrency markets. Your task is to design an autonomous AI agent that can predict market trends, execute trades, and manage risks efficiently. Your response should include:
A strategy: How the AI will analyze crypto market data (on-chain + off-chain).
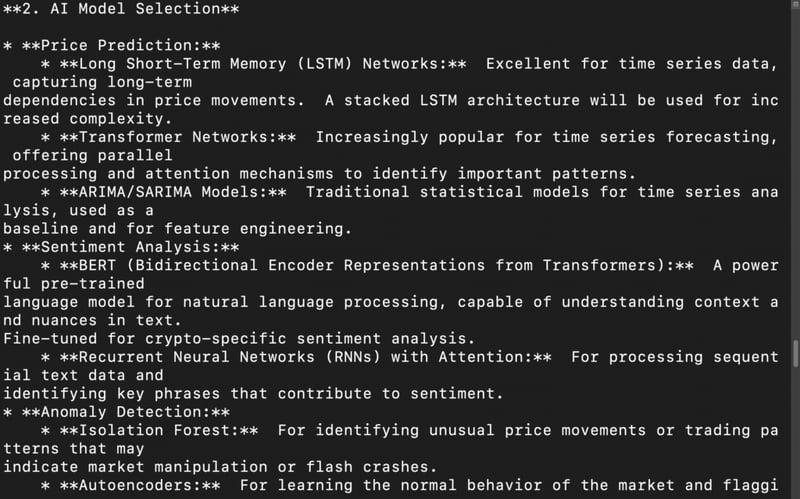
AI model selection: Which machine learning models (or deep learning architectures) are best suited for price prediction and sentiment analysis?
Technical implementation: Provide a Python code snippet for a simple price prediction model using historical crypto data.
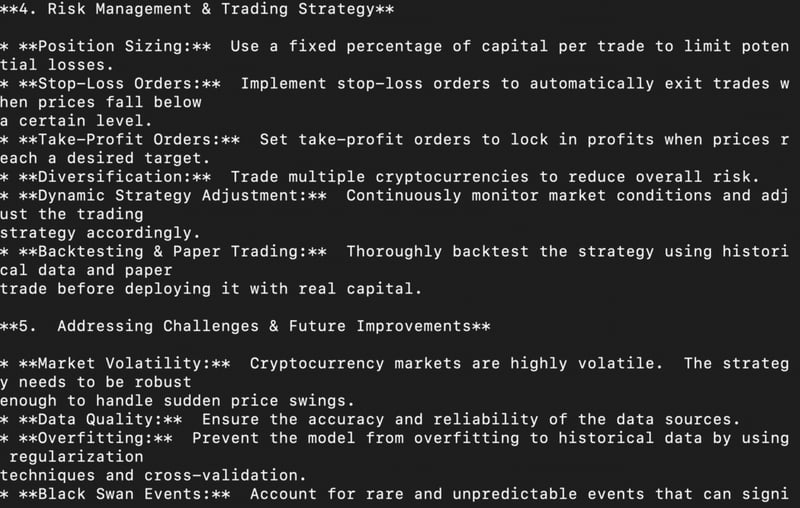
Risk management: How will the AI avoid pitfalls like market manipulation, sudden crashes, and high volatility?
Ethical concerns & limitations: What are the risks of AI-driven trading, and how can they be mitigated?
Output:


Installation using Transformers
Transformers offers maximum flexibility and control for fine-tuning and experimenting with Gemma-3. It’s the best choice for developers and researchers who need to customize models for their specific use cases and experiment with various training or inference configurations.
In this section, you will learn to install the model using Transformers. We’ll install and run the model with Python code on Jupyter Notebook.
1) To use the built-in Jupyter Notebook functionality on your remote server, follow the same steps (Step 1—Step 6) to create a new GPU instance, but this time, select the Jupyter Notebook option instead of Nvidia Cuda in the Choose an Image section and deploy the GPU.
2) After the GPU is running, click Connect with SSH to open a Jupyter Notebook session on your browser.

3) Open a Python Notebook.

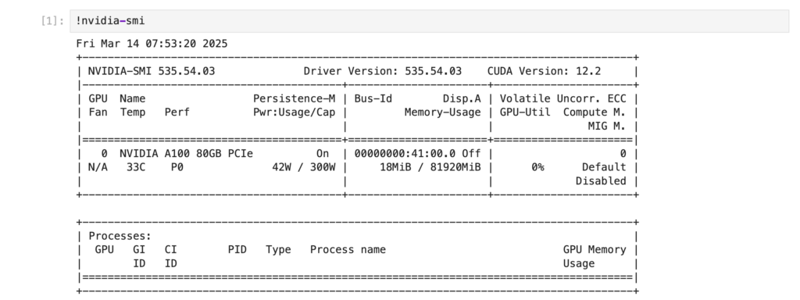
4) Check GPU details (optional).
!nvidia-smi
Output:
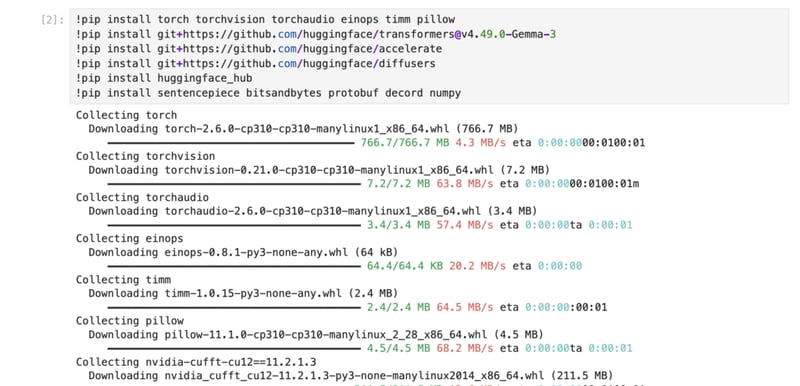
5) Install dependencies to run the model with Transformers.
!pip install torch torchvision torchaudio einops timm pillow
!pip install git+https://github.com/huggingface/transformers@v4.49.0-Gemma-3
!pip install git+https://github.com/huggingface/accelerate
!pip install git+https://github.com/huggingface/diffusers
!pip install huggingface_hub
!pip install sentencepiece bitsandbytes protobuf decord numpy
Output:
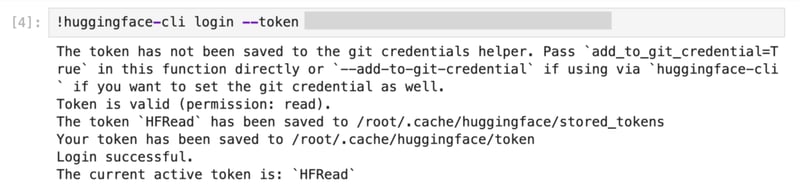
6) Login to HuggingFace CLI using access token.
(replace with your HF_READ access token from the HuggingFace dashboard)
!huggingface-cli login --token
Output:
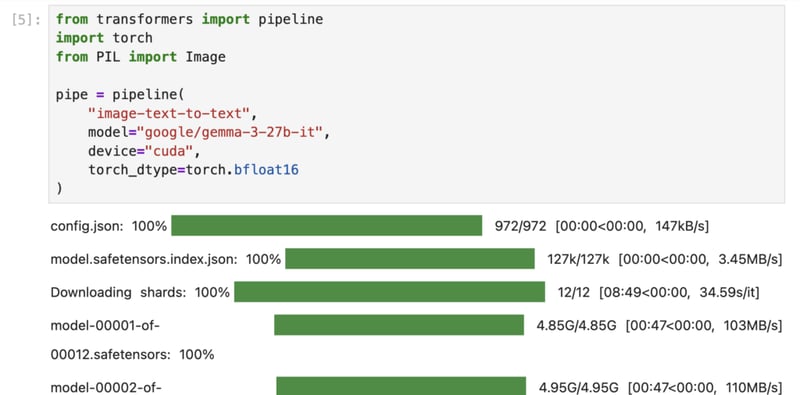
7) Load the model using a pipeline from Transformers.
For demonstration of this method, we are downloading the google/gemma-3-27b-it model from HuggingFace. You can replace it with your preferred one as per the requirements.
from transformers import pipeline
import torch
from PIL import Image

pipe = pipeline(
    "image-text-to-text",
    model="google/gemma-3-27b-it",
    device="cuda",
    torch_dtype=torch.bfloat16
)
Output:
8) Run the model with your image and prompt.
Finally, we’ll test the model’s multimodal capabilities by giving it a instruction along with image input. We’ll use the following code snippet to do so:
image = Image.open('./test-image.jpg').convert('RGB')
prompt = "Describe what's in the image in detail"
system_prompt = "You are a helpful assistant."

messages = [
    {
        "role": "system",
        "content": [{"type": "text", "text": system_prompt}]
    },
    {
        "role": "user",
        "content": [
            {"type": "image", "url": image},
            {"type": "text", "text": prompt}
        ]
    }
]

output = pipe(text=messages, max_new_tokens=500)
print(output[0]["generated_text"][-1]["content"])
Output:

In the above snippet, the "./test-image.jpg" path contains our image that we’re using for testing. The full image is as shown below:

With the above image, we’re using the following prompt:
“Describe what’s in the image in detail”
Here’s the detailed description generated by Gemma-3.


Conclusion
In this guide, we’ve explored two different methods to install Gemma-3 locally—Ollama, and Transformers, each offering unique benefits depending on your requirements, whether it’s ease of use, performance optimization, or flexibility. By understanding these approaches, you can efficiently deploy Gemma-3 in a way that best suits your workflow. With NodeShift, managing such deployments becomes even more streamlined, providing a robust infrastructure that simplifies setup, and enhances scalability, ensuring a seamless experience for developers looking to harness the power of Gemma-3 with minimal operational or DevOps overhead.
For more information about NodeShift:


